
Thinking about diving into solar panel installation? Great choice! Planning it out makes everything smoother. First, figure out how much energy you use. Check your electric bill to see your average monthly usage. This step helps you decide how many panels you’ll need. Don’t worry; it’s easier than it sounds!
Next, consider your roof space. Take a good look at how much area you can use for those solar panels. Make sure it gets plenty of sunlight throughout the day. Shade from trees or nearby buildings can really cut down on energy production. Also, think about your roof's condition. If it needs repairs, it’s best to take care of that before going solar.
Then, it’s time to explore your options for solar panel installation. You can choose to DIY or hire a pro. If you're up for a challenge, DIY kits are a fun project. But if you want to make sure it’s done right and fast, hiring an experienced installer might save you some headaches down the line. Check reviews and ask for quotes to find the best fit for your needs and budget.
Lastly, don’t forget about permits and incentives! Local regulations can vary quite a bit, so check what you’ll need before starting your solar panel installation. Many places offer tax credits or rebates that can save you a chunk of change. Doing your homework now can really pay off later, both in cash and convenience!
Gathering Your Installation Tools
Getting started with solar panel installation means you'll need a few tools at your side. Don't worry; you won’t need a whole workshop. Just the basics will do! Here’s a quick list to gather:
Safety gear is just as important as tools. Grab a sturdy pair of gloves to protect your hands and secure shoes with good grip. You might also want a safety harness if you're working on a roof. Trust me, safety first!
Once you have your tools and safety gear ready, you’ll feel so much more confident tackling your solar panel installation. With the right equipment, you’ll make the job smoother and even kinda fun! Plus, you’ll be well on your way to harnessing the sun’s energy for your home.
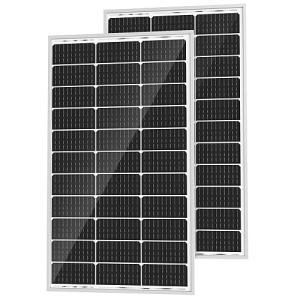
High-Efficiency 200W Monocrystalline Solar Panels
Maximize your energy savings with our cutting-edge solar technology designed for optimal performance and durability
Product information
$149.99 $129.99
Product Review Score
4.77 out of 5 stars
113 reviewsProduct links
Mounting the Solar Panels
Mounting your solar panels is a key step in your solar panel installation journey. Getting this right makes sure your panels stay secure and work efficiently. Let’s break down how to do it smoothly.
First things first, gather all your tools. You’ll need a drill, screws, brackets, and a good level. Make sure you have a reliable ladder and some safety gear too. Safety is super important when you’re working up high!
Now, find the perfect spot on your roof. Ideally, you want a south-facing roof with no shady spots from trees or nearby buildings. Once you've picked your spot, attach the mounting brackets that will hold your panels. Use your level to ensure they're straight; nothing feels worse than a crooked solar panel!
After the brackets are up, it’s time to slide in the panels. Get a helper if you can, as this makes things easier and safer. Secure the panels to the brackets with the screws you gathered earlier. Give everything a good once-over to make sure everything is tight and secure.
With the panels mounted, you’re one step closer to enjoying clean, renewable energy. Just remember to follow your manufacturer’s instructions as you go along. Happy solar panel installation!
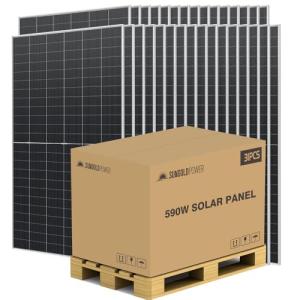
SUNGOLDPOWER 31PCS 590W Bifacial Solar Panels
Get reliable power generation with high-efficiency solar panels designed for maximum energy output
Product information
$6,805.00
Product Review Score
4.89 out of 5 stars
227 reviewsProduct links
Connecting the Electrical Components
Once your solar panels are securely mounted, it’s time to connect the electrical components. This part is crucial for getting your system up and running, so let’s break it down step by step.
First, you'll want to connect the panels to the inverter. This device captures the energy your panels produce and converts it into usable electricity for your home. Most inverters come with clear instructions on how to wire everything up. Just make sure you follow them closely. A little tip: always double-check your connections to avoid any hiccups later.
Next comes the battery, if you’re using one. This step isn’t necessary for everyone, but having a battery lets you store extra energy for those cloudy days or nighttime use. Connect the battery to the inverter according to the manual. Make sure your battery is compatible with your system. Mismatched components can lead to trouble.
After everything is wired up, it’s time to connect to your home’s electrical system. This is where you might want a pro to help you out. They can ensure everything is safe and up to code. A good electrician can easily connect the inverter to your circuit box, allowing you to use solar energy seamlessly.
To wrap it up, check all your connections one last time. A few minutes spent double-checking can save you from issues down the road. And there you go! You’re well on your way to enjoying the benefits of solar energy with your solar panel installation.


